Why a Screw Holds: Threads, Contact, and Turning Force
Why a screw holds depends on thread contact and a sound joint. Learn what makes grip fail, how to assess a loose fixing, and when to seek qualified advice.
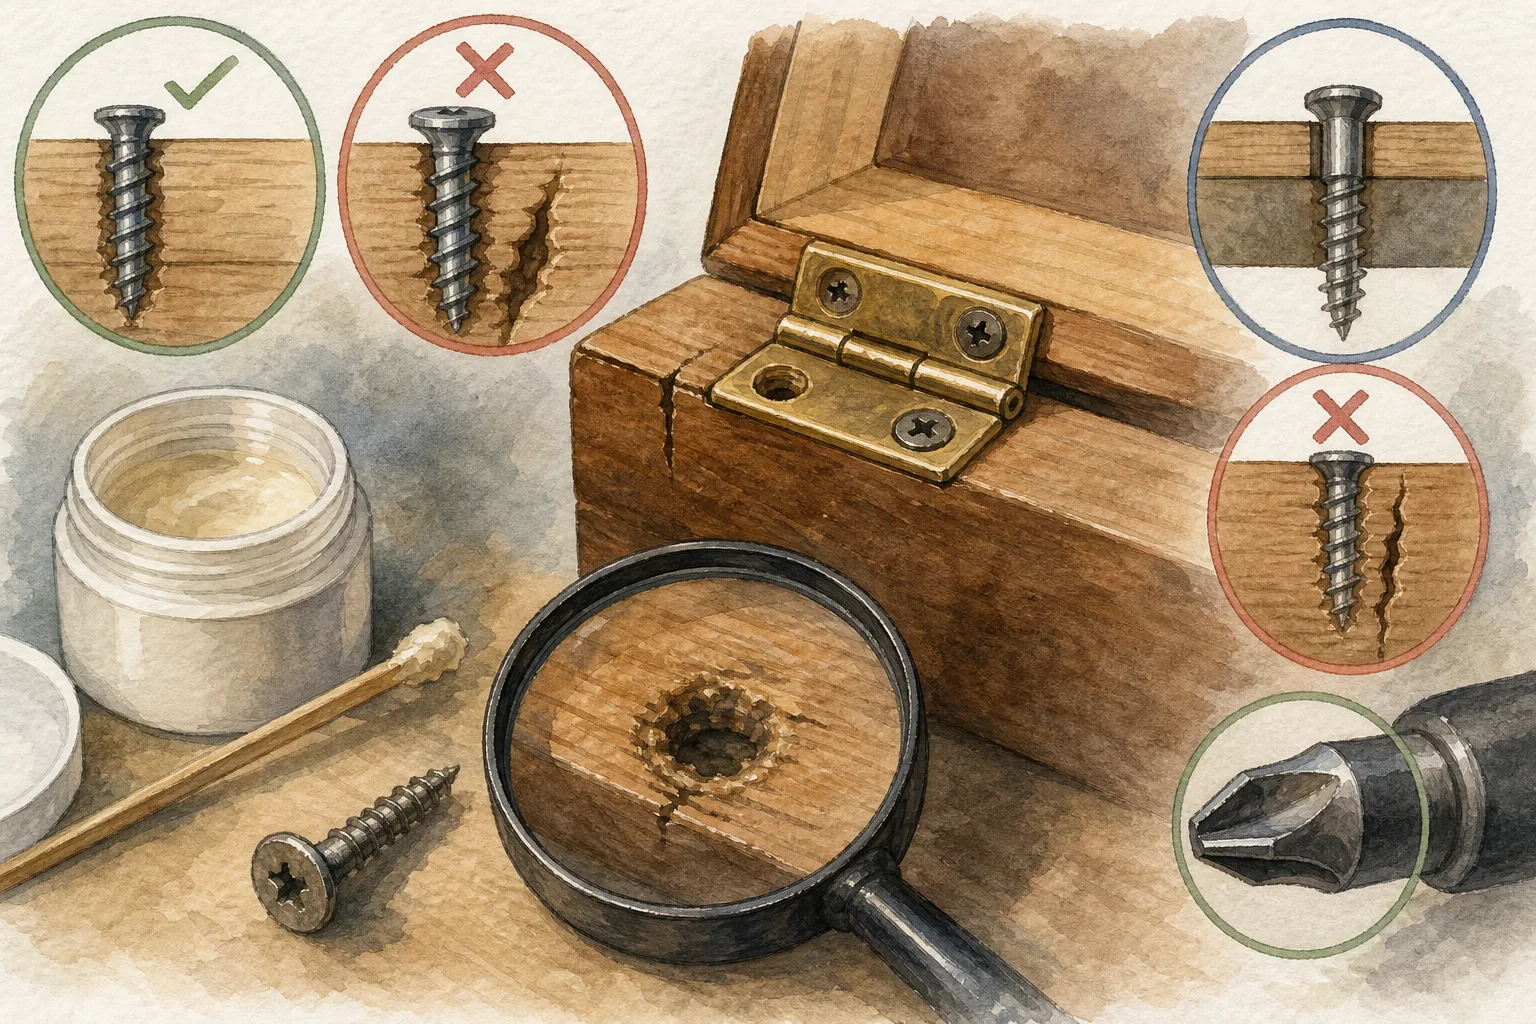
A screw holds when its thread engages sound material and its head presses the joined parts together. That is why one screw in a cabinet hinge can feel firm while another spins in its hole: the fastener depends on the material and joint, not just the screwdriver.
Turning the screw advances its angled thread through the material. The thread resists withdrawal while the head clamps the joint, much as a bolt draws two parts together. Both actions rely on a suitable match between screw, hole and substrate.
Thread engagement
A screw thread is a raised ridge wrapped around a shaft. As the screw turns, the ridge bears against the material and moves forward, like a jar lid following its matching thread. In wood, it cuts or presses a path through fibres; in a metal nut, it engages a prepared groove.
The drive recess transfers turning force from the tool to the screw. A bit should fit closely and sit fully in the recess. If it rocks or slips, stop: extra force can damage the recess without improving the thread’s grip.
Grip in wood
A screw that turns without advancing has lost effective engagement. In wood, the hole may be worn, split or too large for the screw. In a metal fixing, the screw and receiving thread may be damaged or incompatible.
Remove a loose screw only if it can be done without worsening the damage. Look for flattened thread ridges, torn fibres, a split, or a hole that has become enlarged. These observations identify a problem; they do not establish that any particular repair will carry a given load.
- Observe the wood at the hole: if it is visibly split, soft or crumbling, stop using the fixing and ask a qualified tradesperson to assess it; if it appears intact, continue inspecting rather than assuming it is sound inside.
- Observe the hole’s position: if it is close to a damaged edge or in a thin panel, do not move the screw or enlarge the hole by guesswork; if a new position is being considered, have its suitability assessed for the specific joint.
- Observe the screw thread and receiving thread: if either is visibly damaged or the parts do not match, do not refit them; if they appear intact, identify why the grip failed before considering reuse.
- Read the repair product’s instructions for the named substrate and use: if the instructions do not cover both, do not treat the product as suitable; if they do, follow them only for an application that does not require a separate structural assessment.
- Observe what the fixing supports: if failure could injure someone or damage property, stop and consult a qualified person; if the item is non-critical, still use a repair specifically suited to its material and purpose.
- Observe how the screw enters and how its head seats: if it wanders, spins or crushes the surface, stop driving; if it advances straight and seats without visible damage, that alone does not confirm the joint’s load capacity.
Say you have a loose screw in a small, non-critical wooden keepsake box. In this invented example, the starting inputs are one visibly worn screw hole, one screw with intact-looking threads and a repair product whose instructions name that type of wood and application. You remove the screw, compare its thread with the product’s permitted fixing method, and follow the stated preparation and setting directions; then you check whether the repaired area is visibly intact before deciding whether the product instructions permit refitting. If the wood remains split, the screw does not advance as intended, or the instructions do not cover the joint, the resulting decision is to stop rather than rely on the repair. Those observations do not establish suitability for a hinge, shelf or any consequential load.
Driving resistance
A screw that stops advancing may have met a knot, a hard layer, an undersized pilot hole or an obstruction. The screw itself may also be unsuitable for the material. Back it out carefully if possible and inspect the screw and work before changing anything.
In wood, a pilot hole can guide a screw and reduce the force needed to drive it, particularly near an edge or in dense timber. Its size must suit the screw and material: an overly wide hole can leave too little wood for the thread to engage. Keep the screw straight and stop if resistance rises sharply.
Before drilling or changing the fixing, consider what may be behind the surface, including wiring and pipes. If concealed services may be present, or the joint has a structural or otherwise consequential role, do not guess about hole position or screw choice; consult a qualified tradesperson.
Damaged drive recesses
A bit that rocks or fails to seat fully can slip out of the recess. Phillips and Pozidriv drives can look similar, so identify the drive and use a matching bit rather than forcing a near match. Keep the tool aligned with the screw and stop if it slips.
If the recess is damaged or the screw will not release, do not keep turning with a poorly fitting bit. Removal methods depend on the screw, its position and the surrounding material; if removal could damage a finished surface or affect a consequential joint, ask a qualified person to assess it.
Cracks near screws
A crack beside a screw means the material has been forced apart or weakened. This can happen in narrow stock, near a board end or when the screw is driven without suitable preparation. Stop as soon as a crack appears.
Whether the material can be repaired depends on its condition, the product and the purpose of the joint. A crack should not be treated as harmless simply because it looks small. If the part supports a consequential fixing, or its condition is uncertain, leave it unloaded and seek qualified advice.
Screw grip questions?
Why does a screw loosen after tightening?
The material may have compressed, the thread may not engage sound material, or movement may have disturbed the joint. Inspect the screw and surrounding material before considering any adjustment; repeated spinning calls for reassessment, not more turns.
Should I use a pilot hole in wood?
A pilot hole can help guide a screw near an edge or through dense wood. The appropriate size depends on the screw and timber, so follow reliable instructions for that specific combination rather than choosing by guesswork.
Why does a screw stop before its head sits flat?
The hole may be too shallow, the screw may be unsuitable, or the joint may need a particular head clearance. Back it out if safe to do so and check the design before making another hole or altering the surface.
Can I reuse a stripped screw hole?
A screw that spins without gripping should not be treated as secure. The right response depends on the substrate and the joint’s purpose; where failure could matter, have a qualified person assess the repair.
Matching screw and material
A screw’s type, length and head must suit both the material and the joint. Confirm that the intended route is clear, mark the position and prepare a pilot hole only where the material or product instructions call for one. Start the screw straight and use controlled force.
As the head approaches the surface, ease off to avoid crushing the material. Check that the joined pieces meet as intended and that the screw does not wobble or spin. If it feels loose, stop: a snug head cannot compensate for a thread that lacks sound material to engage.
Why a screw holds comes down to contact between its thread and the material, alongside a head that clamps without damaging the joint. For a repair, check the particular screw, substrate and purpose; if the fixing is consequential or its suitability remains uncertain, leave it for a qualified person to assess.
Related mechanisms
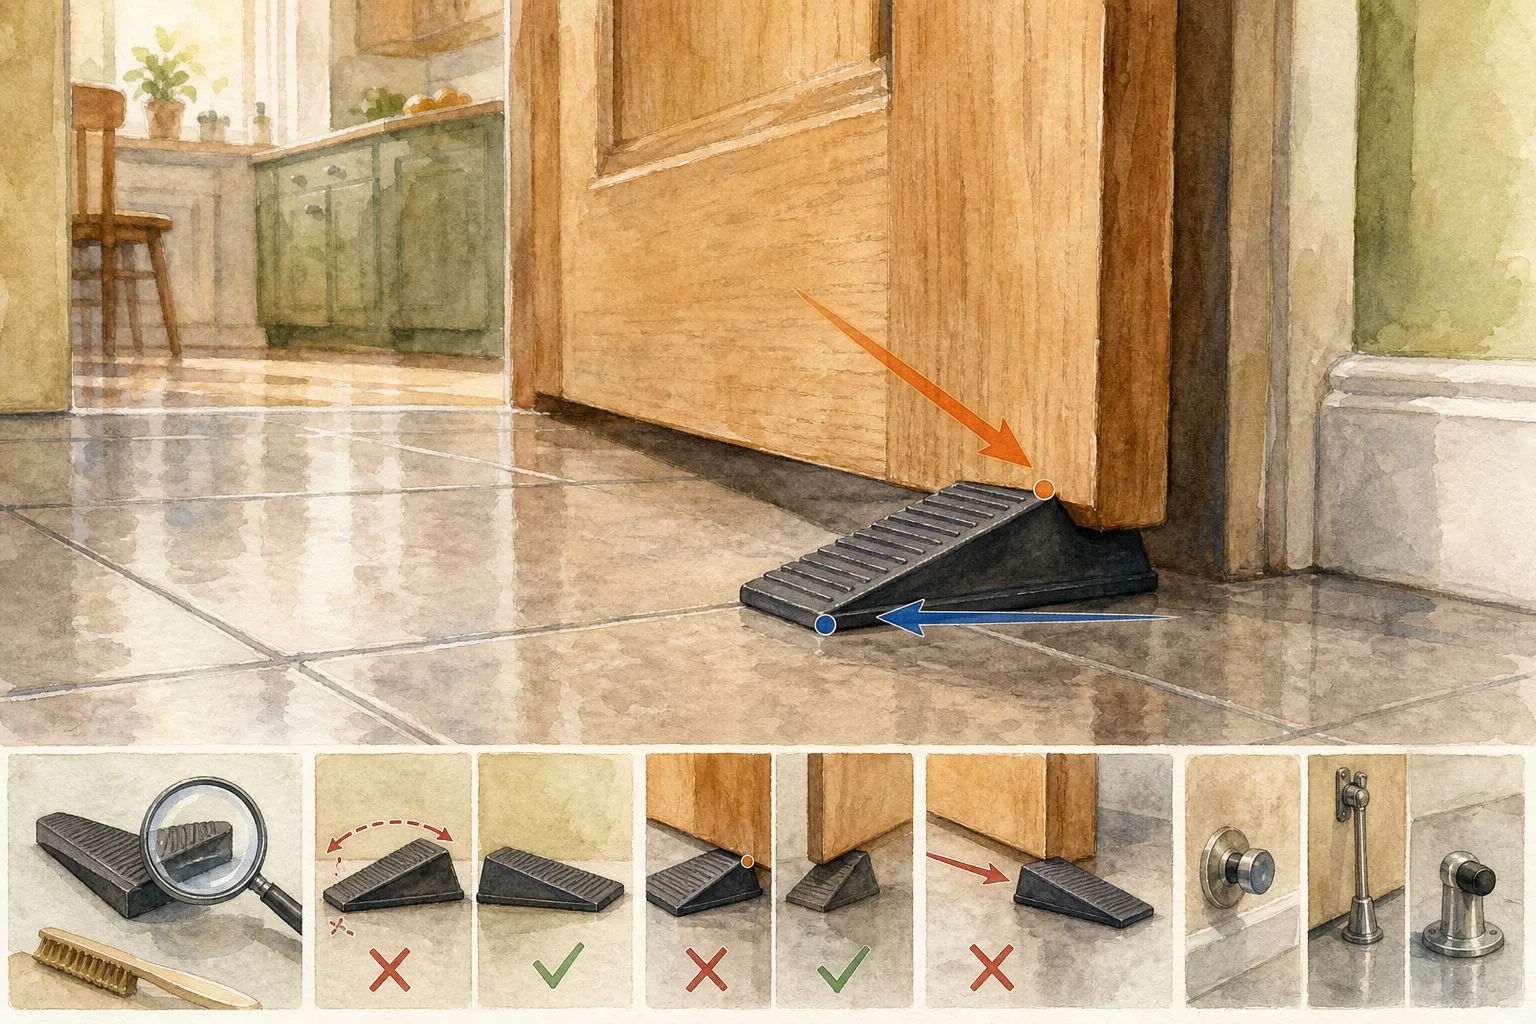
The Doorstop as a Wedge: Why a Small Taper Holds a Door
Doorstop wedge mechanics show how taper, contact and fit affect a door’s movement, helping you identify…
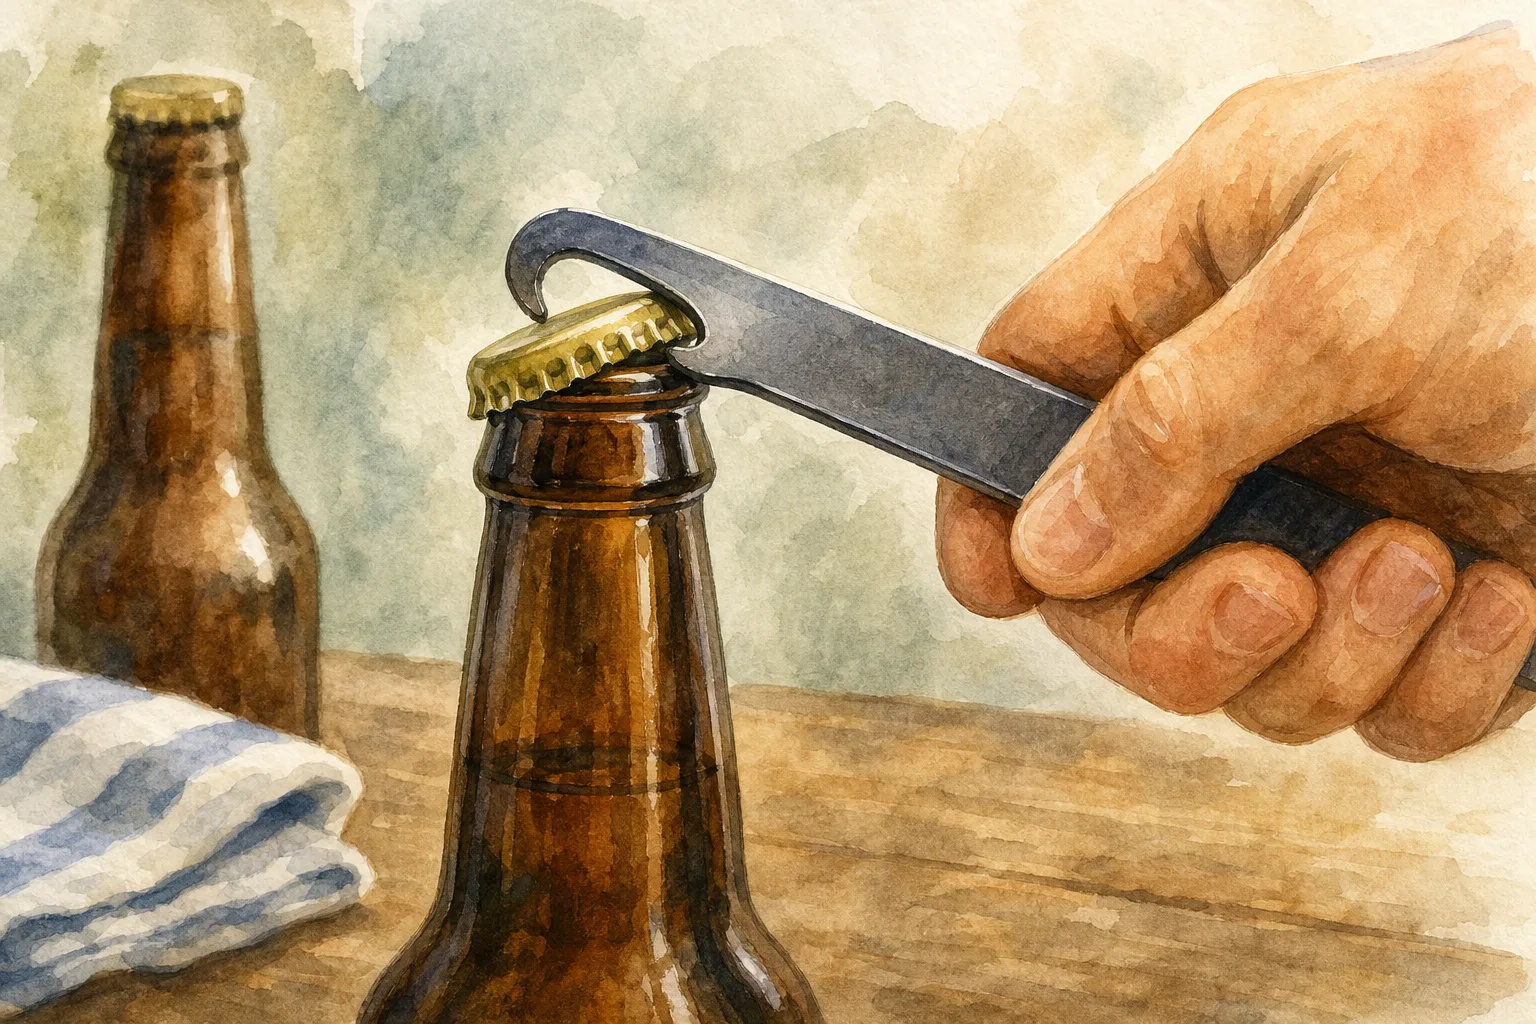
A Bottle Opener and the Leverage Behind Its Handle
Bottle opener leverage explains how the hook, bottle rim and handle work together, helping you understand…